How To Curate and Design a Gallery Wall
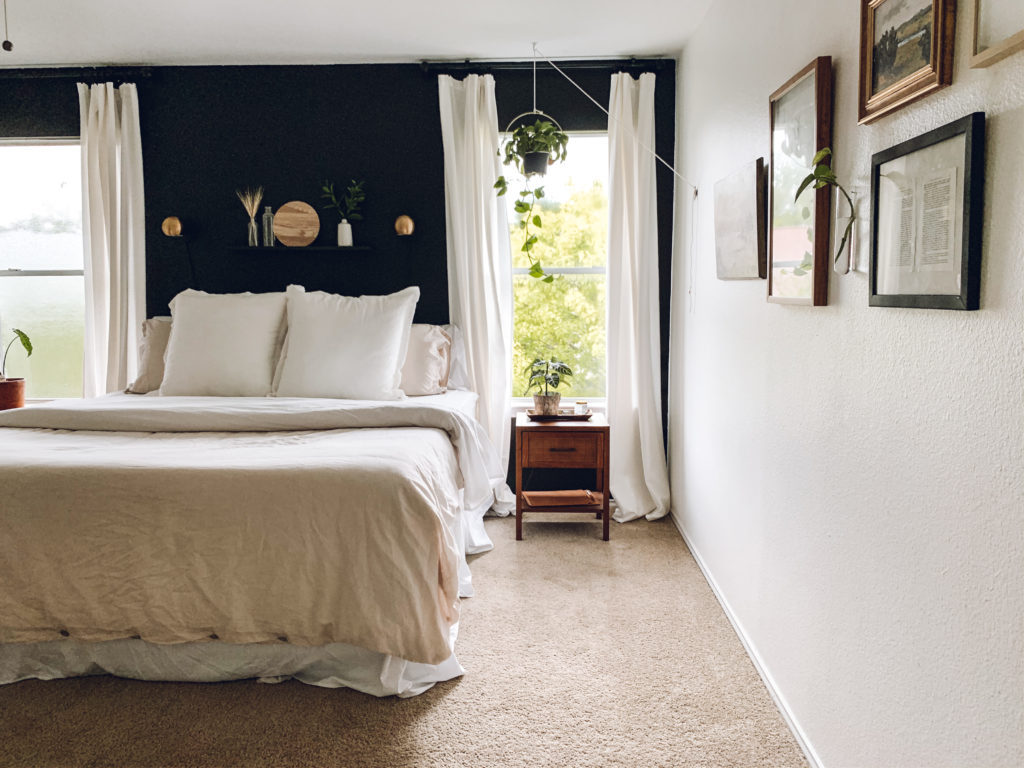
Ah, gallery walls. We’ve all seen them and we all love them. But we might not all know how to achieve them. I have friends and family who will ask for help with filling their empty walls and my first answer is usually to add a gallery wall. Displaying art or photos together is a great way to fill your home with life while still staying true to your personal style. Find pieces that you love, photos of your favorite memories and quotes that inspire you and put them all together. If you’re a little lost with where to start, keep reading and I’ll show you how to curate and design a gallery wall for your personal style.
One thing I love about gallery walls is that you don’t have to define your style or stick within any strict design guidelines because it’s supposed to be a compilation of pieces that make you happy. That IS your design style! It doesn’t have to look 100% modern or eclectic or vintage unless that’s what you 100% love. They also don’t have to cost a million bucks. However, don’t forget the rule of thirds! Odd numbers of pieces are more appealing to the eye. Now let’s dive into it.
Choosing Frames
I would consider this “step one.” You can find art and downloadable prints all day but without your frames, you wont know what size to print. Picture frames are a great way to set the tone of your gallery wall.
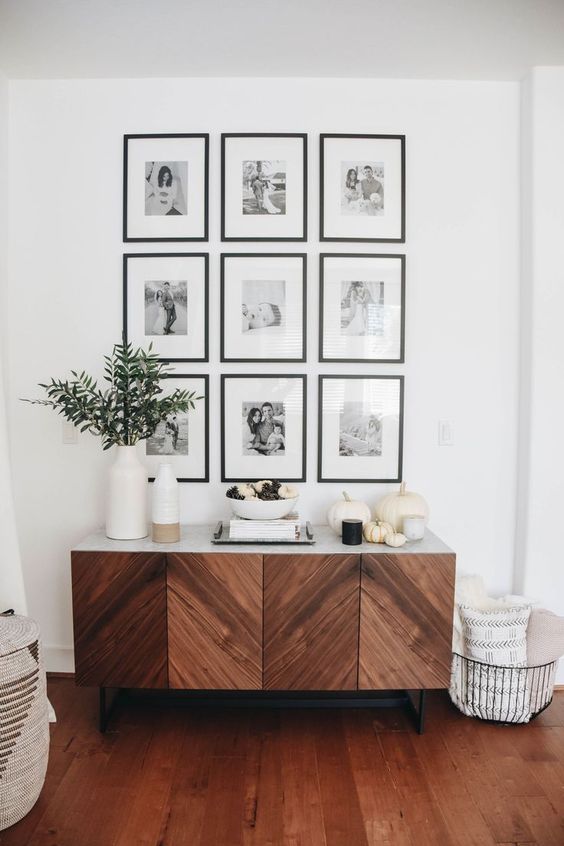
For instance, if you are looking for clean, modern and more traditional style, you will probably want to go for all black frames in a symmetrical grid pattern (one size frame).
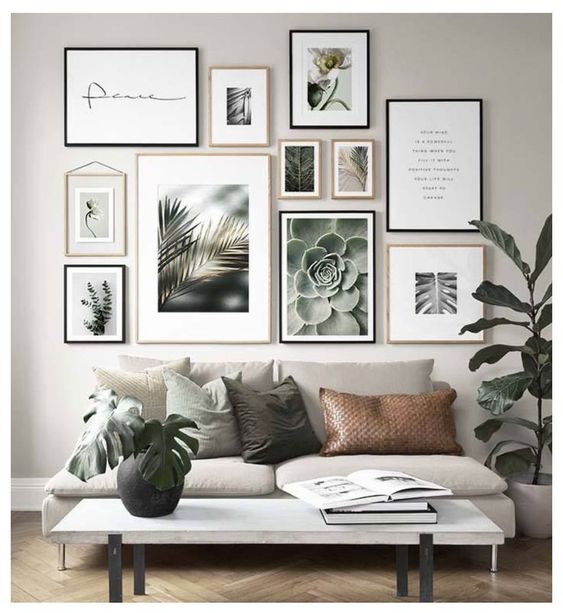
If you’re a fan of this look but want to add in some more character, you might try a few varying sizes and adding in one other frame color (like white or light wood). You can stick to a similar grid-look by keeping them lined up on three sides with equal spacing in between (does that make sense? I’ll show you.)
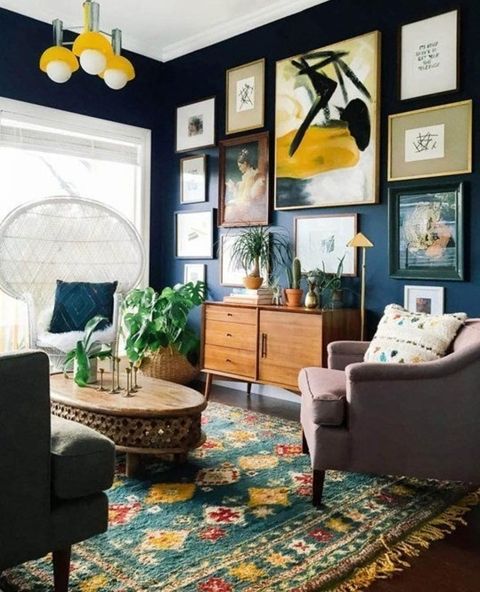
If you have a larger area to fill or prefer a more “living” gallery wall you can throw all symmetry out the window and combine colors, sizes and styles for a different look.
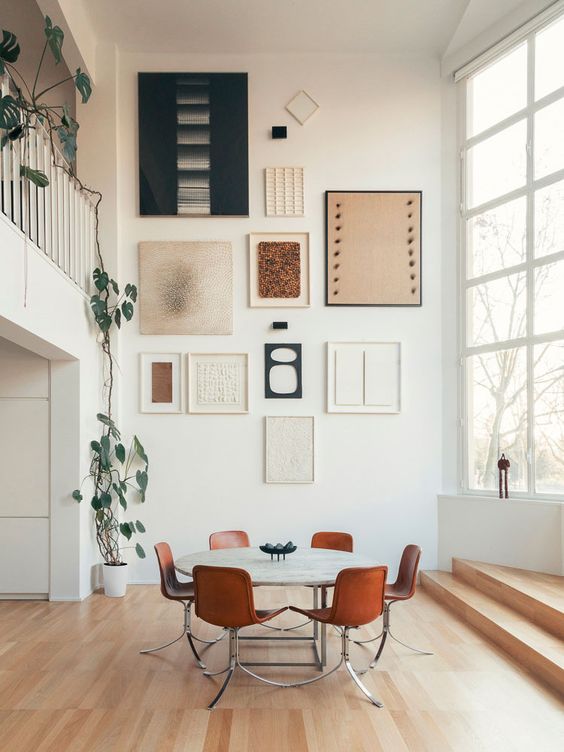
If you like this concept but want a little more cohesion, then stick within a color palette or style for consistency.
Truth of the matter is, you can’t really go wrong. Just find your vibe and go for it! If you’re still lost, find an image you love on Pinterest and use that style as a starting point.
Buying Frames
This is the part that usually gets pricey. Here are my top 3 sources:
1. Ikea is a great place for affordable frames! They might not be the best quality but if you’re staying within a budget, this is a good option. I recently used gold Rub n Buff on a black Ikea frame for a more “vintage” look.
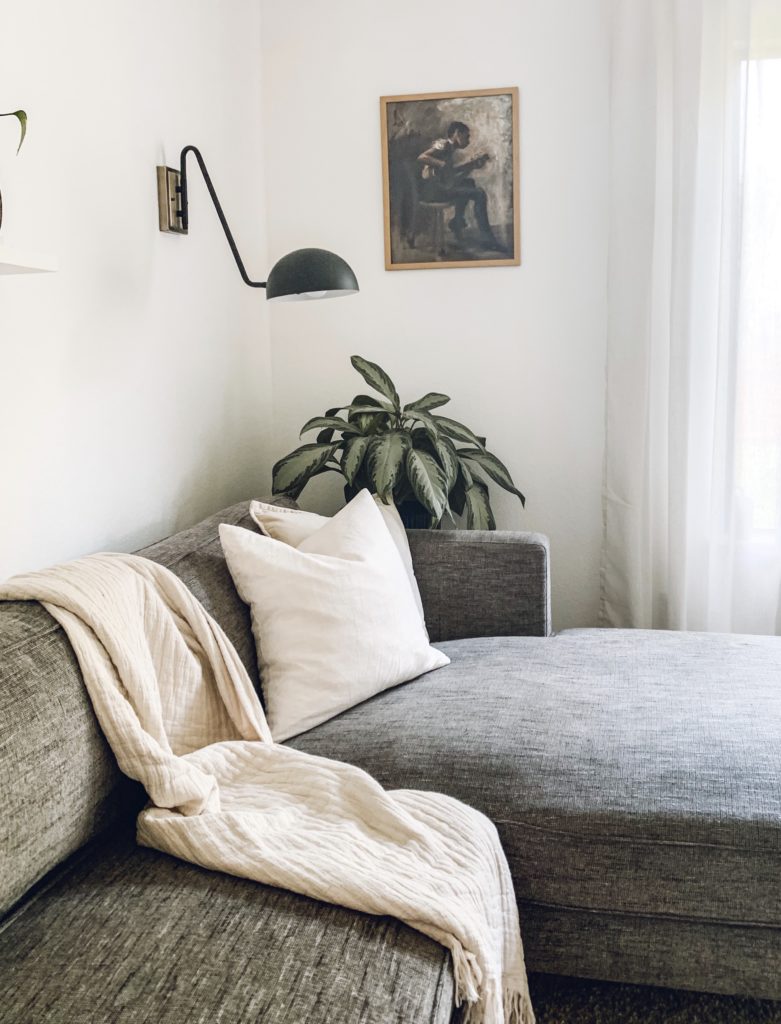
2. Michaels is another place I’ll shop for frames because they tend to have sales and coupons regularly so I’ll get good discounts.
3. For vintage-looking frames, thrift stores are your best friend. They usually have a whole picture frame/wall art section. Just be sure that the art can be easily swapped out of the frame before you buy it.
Curating & Purchasing Art
When putting together a gallery wall, I like to find sophisticated pieces that I love. You can start small by choosing some line art you like or finding a color palette that speaks to you. If you’re more sentimental, maybe you find a collection of photos from your favorite places you’ve visited. If you’re open to creating art yourself, I have a post all about attainable DIY wall art .
Hot tip: Find three types of art you want displayed (i.e. line art, watercolor painting, botanical print) and pick a piece in each category as a starting point. Throw all three images onto a mood board (Canva works great) and choose pieces that complement and combine those pieces.
Purchasing and finding art can be done in so many ways but I typically use Etsy for downloading prints. I’ve used Minted for prints before too and they are beautiful quality. However, the prices are a bit ridiculous in my opinion.
Here are a few of my favorite Etsy shops:
Splendus – pencil sketches and beautiful watercolor prints
Prints Miuus – Line art, abstract art, modern shapes and color blocks
Kate Decor Prints – botanical prints
Another option is high-res royalty-free photos you can find on Pexels or Unsplash. These are completely free photo downloads and a great option for landscape, nature and exterior photos.
Once I have art downloaded, I typically send to Walgreens or CVS for printing. It’s usually done same-day and you can find so many coupon codes online.
You can also think outside the box a little bit and frame dried flowers, fabric swatches or string. I also love hanging test tubes on my walls for plant cuttings.
Installing Your Gallery Wall
This should have been on your mind a bit when purchasing your frames and now it’s time to bring this wall to life! Measure out the area you’re trying to cover on the wall and mark it out on the floor with some painter’s tape. Take all your frames and start messing around with the arrangement in that area. Once you find a layout you like it’s time to get hanging! Some people will cut out craft paper the size of their frames for easy hanging.
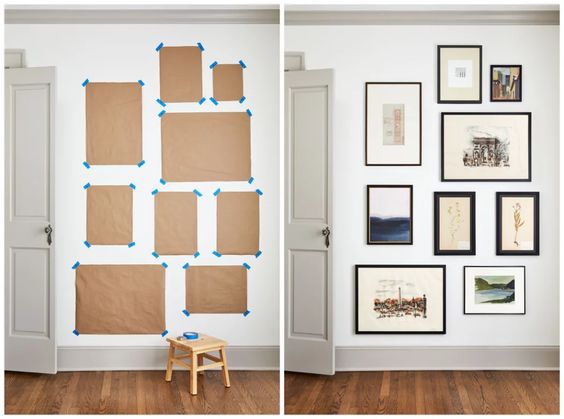
You could do it this way and I’m sure it works great! If you’re a bit lazy like me, you could also just pick your largest frame and hang it first in relation to where you laid it out in your floor area. Add the rest of the art one-by-one based on their location to that piece in your layout.
Once this is done, you should end up with a beautiful, curated gallery wall that feels like YOU! There’s so many ways to achieve this and however you decide to do it, I hope it makes you love your home even more!
As always, thanks for stopping by Campbell House. I’m happy to answer any questions you may have and I hope this was helpful!
Disclaimer: this post may contain affiliate links, meaning I get a commission if you decide to make a purchase through my links, at no cost to you.
Add a comment
0 Comments