How to Stain and Seal Butcher Block Countertops
If I had a dollar for every question I’ve gotten about my butcher block countertops… I could probably buy marble instead. Just kidding–I do love my butcher block. It adds warmth and character in all the best ways, and despite what you might have heard, the maintenance is a breeze! When we first renovated our kitchen, I spent countless hours researching how to best finish and maintain butcher block. After lots of trial and error, I’ve come to the conclusion that there is no right or wrong way. You just have to find what works best for your lifestyle, your home, and your budget.
When we renovated our kitchen we were working with a pretty slim budget, so I chose American Maple Butcher Block from Floor and Decor because it was both budget-friendly and good quality. Once that was decided, I had to choose my finish.
Oil vs. Polyurethane
After a deep-dive into Google, Pinterest and every other resource under the sun, I concluded the two most popular ways to finish butcher block were oiling and sealing. I’ll save you some time and cut straight to the chase.
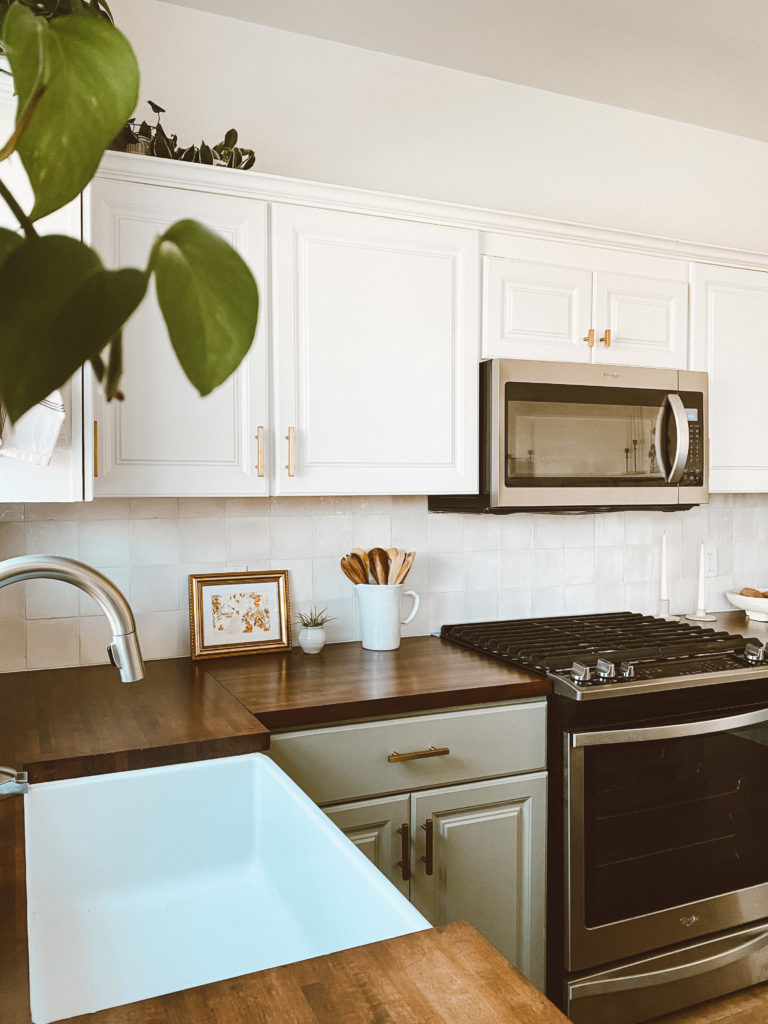
Oil is a great way to protect your counters and keep them looking fresh. However, it leaves your wood exposed. If you cut into your counter, there’s a cut in the wood. If there’s sitting water around your sink for a while, it can rot. In other words–it’s still wood. You will have to continuously reapply the oil to prevent the wood from drying and cracking, but spreading oil on a surface isn’t exactly hard labor. This is a great option if you aren’t interested in staining your counters, or if you don’t mind them aging over time. I think the aged look is beautiful, but it would have felt out of place in my 90’s builder-grade home. For this reason, I chose to seal my counters with polyurethane.
Polyurethane is a popular furniture varnish, and oil-based poly is completely waterproof. Finishing butcher block with polyurethane essentially coats it in a layer of plastic. It can stand up to some heat, but isn’t meant for hot pots to rest on. It’s completely waterproof, but it can chip if you’re being too hard on it. If you do manage to chip or damage your counters, it might be worth sanding them down and resealing them in the future. It’s been almost two years since I renovated my kitchen, and I’ve refinished the island once due to heavy wear. It was a pretty simple process, you just have to be aware that there will be strong fumes.
How To Finish Butcher Block with Polyurethane
Okay I’m going to write out these steps and you’re literally going to wonder why I bothered writing a blog post about this because it’s SO simple.
- Sand the countertops smooth and wipe clean (I worked my way up from 80 grit to 220)
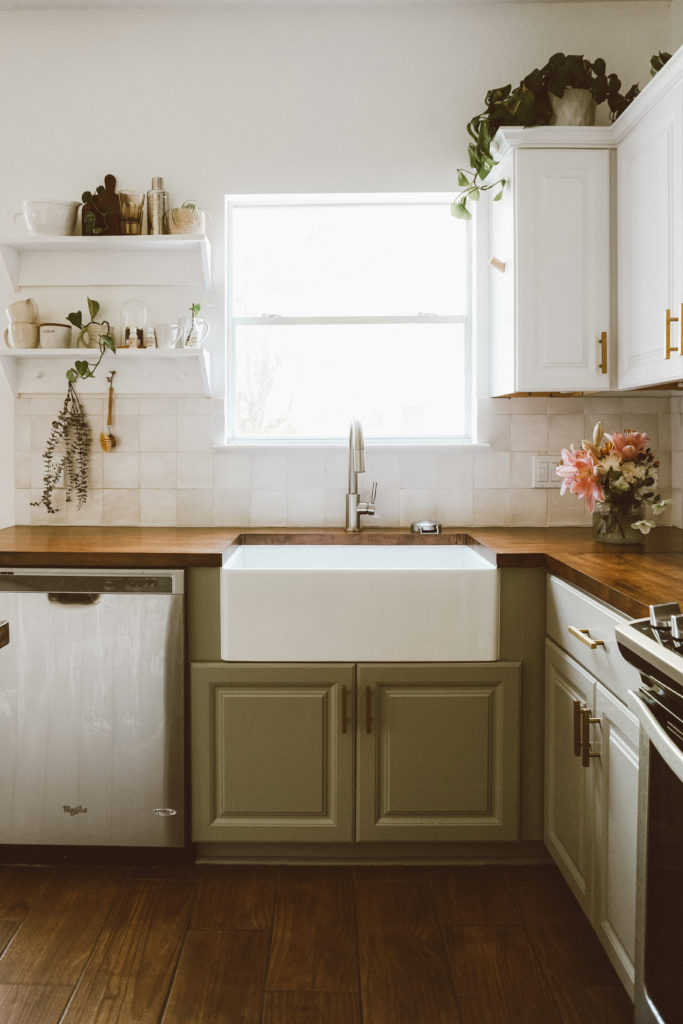
- Apply your desired stain according to the directions on the can. I applied three coats of Varathane “Dark Walnut.”
- Once the stain is dry, soak a clean brush in mineral spirits for 5-10 minutes
- Use your brush (with mineral spirits) to apply polyurethane in long, even coats in the direction of the wood grain
- Once the first coat is fully dry, lightly sand it smooth with 220 grit sandpaper
- Apply 1-2 more coats until you’re satisfied with the finish and your countertops are protected
- After 24-48 hours your countertops are waterproof and ready to use!
So basically you sand, stain, and seal. In my experience, soaking your brush in mineral spirits before applying the poly makes a HUGE difference in the smoothness of the finish. I don’t know the chemistry behind it, but it works.
Here’s a look at the countertops both raw and with one coat of stain on. The stain makes SUCH a difference in the warmth.
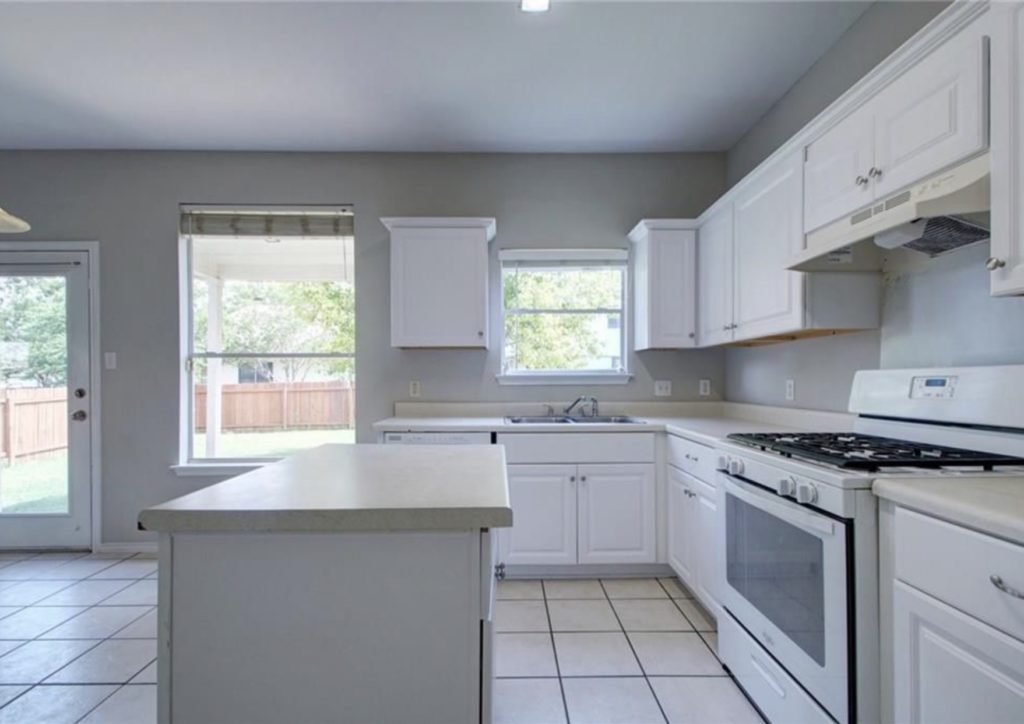
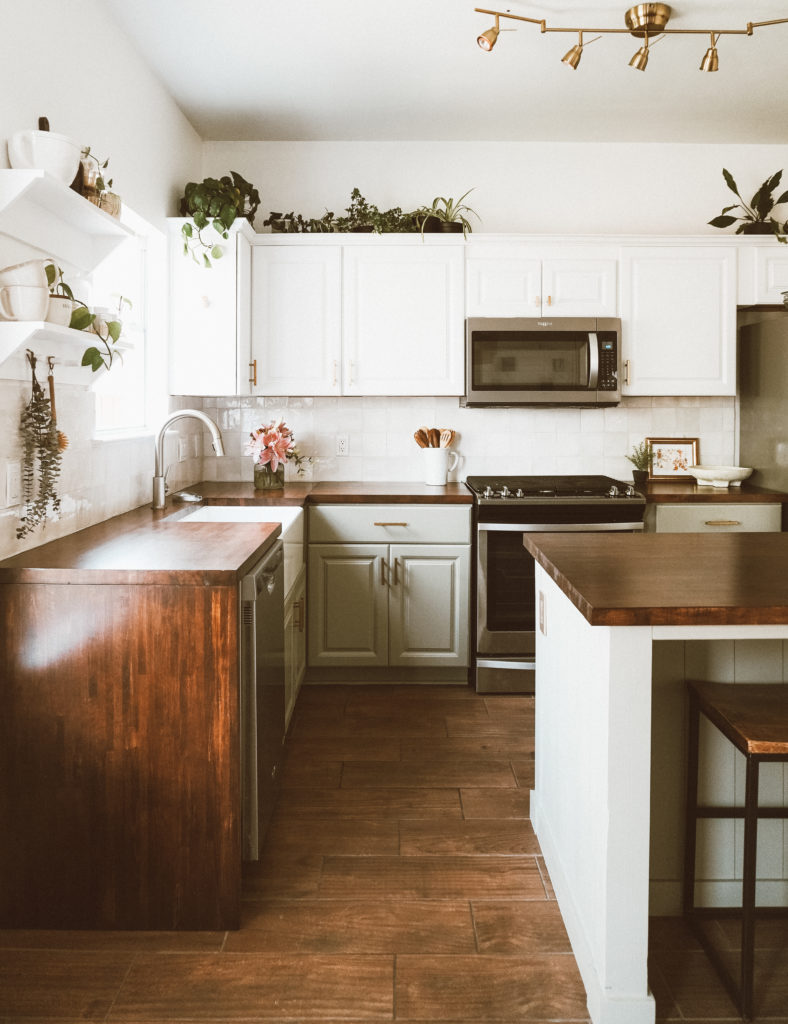
All-in, the butcher block cost us about $700 so it was a great budget-friendly option! It really doesn’t get much cheaper than that. Aside from the countertops, we made quite a few other budget-friendly updates to the kitchen. Here’s a satisfying before and after for you–
Disclaimer: this post may contain affiliate links, meaning I get a commission if you decide to make a purchase through my links, at no cost to you.

I love it!! And despite seeing other tutorials on the internet for butcher block, you broke this down to make it seem totally doable! We are planning on adding butcher block too, but the corner seam has held me up – does the butt joint not bother you or do we attempt to miter it (sounds intimidating especially for an old house/wonky walls). haha
In all your research did you come across the need to pre-condition the wood with wood conditioner to accept stain better? Just curious.
Love the before and after!! Thanks for sharing.
I’m so glad it was helpful to you! I inspected a few butcher block joints before we did ours and came to the conclusion that the same was going to be visible, so we just did everything we could to have the seam match up as nicely as possible. It doesn’t really bother me.
Typically butcher block that you purchase for countertops is already finished and sanded, so I don’t see a need for pre-conditioner since it takes the stain so well already!
I love our countertops but over time they have gotten black and water damaged behind the sink. Can they be repaired? We are worried about replacing
I’ve seen examples of that where with a bit of elbow grease and a lot of sandpaper they can be salvaged! I recommend sealing instead of oiling them if you do decide this route. That way they are waterproof so that doesn’t happen again 🙂
Which brushes did you use for the poly ? And did you just use a stain rag for the stain? Thank you🥰
Ya know, I just used a cheap home depot brush for the poly (that was recommended for sealing). For the stain, I used staining pads specifically for that intended use.
Love this so much! We purchased a home last year with beautiful butcher block but I’m sure it wasn’t sealed since we’ve noticed water stains forming. Did you use oil or water based poly? I tried clicking the link you had but shows unavailable
They mentioned dipping the brush in mineral spirits, so I have to assume oil based
How long did your counters smell after finishing them?
Probably 1-2 days. It went away pretty quickly!
I love the back splash! Where is it from?
It’s from Floor and Decor!
Beautiful! I’m getting ready to do my own countertops and found your tutorial very helpful! A couple questions, I’ve heard you need to treat the bottom of the countertops in the same manner as you do the top or else it will warp your wood? Have you found this? Also, is there a reason you didn’t apply a wood conditioner first? Some other tutorials I’ve seen had this step but doesn’t seem necessary since yours look amazing! TIA
What color are your bottom and top cabinets painted? I love them!
Butcher block is pretty no matter how you get it.
I like making all my household furniture. I love working with wood .
Dec 1st, 2023 I decided to buy the wood, (I love pine)I went to Home Depot and went to the cull lumber, I got 5- 2x8x16 and 1 2x10x16, end up paying $14.00 for all.(regular price $84.00).
Dec 6th I cut-plane-everything to 1/3/8 by 1/3/8.( All corners were square. I waterproof glue and clamp.
The L-shape is very pretty now after finished.
The glue, stain, and finish total cost $110.00.
(My time, well worth it).
do you have to re-soak brush in mineral spirits after first application??
My wife and I are going for this exact look! What flooring is that and where did you get it from?
Did you seal the bottoms? I’m about to seal mine and everywhere I see conflicting advise on sealing the bottoms. Some say not sealing will lead to warping. Others say that sealing bottoms will prevent the wood from breathing and it will crack when it goes to expand but can’t
I don’t know if you will respond since this is such an old blog but thank you for the information. I have a very small countertop because I live in a yurt. I did stain it and then I put mineral oil on top. My big question is that I would like to use the countertop to cut on. do you feel that that is safe even though I have stain on it? Thanks in advance.