DIY Plant Propagation Station: Step-by-Step Tutorial
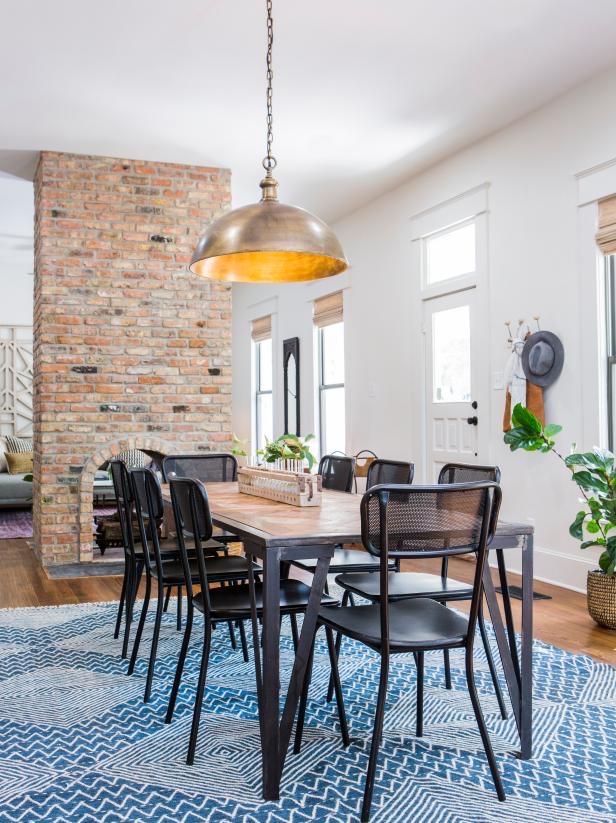
There’s this one episode of Fixer Upper that I’m obsessed with. The style of the house becomes this Scandinavian/Moroccan/industrial dream. I recently watched the “Behind the Design” episode and Joanna decorated their dining table with this long plant propagation station. It was so simple yet brought so much life into the space. So rather than buy one online, I ordered some test tubes on Amazon and created my own. Now I’m sharing all the details of how I created my own so you can too! Here’s a step-by-step tutorial for recreating this DIY plant propagation station!
Here are the materials you will need to create your plant propagation station:
- test tubes
- 1x3x6 wood
- saw (I used a miter saw but a hand saw should work fine)
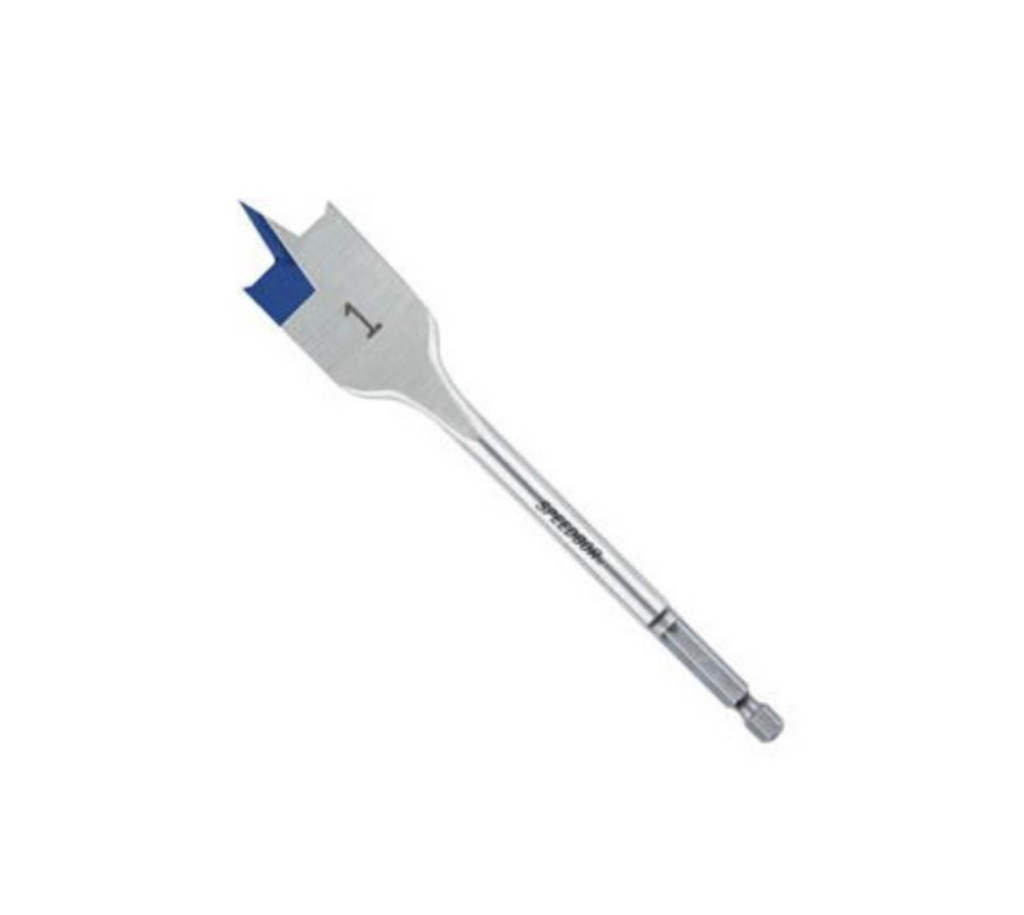
- hole saw or spade attachment for drill
- wood stain
- sandpaper
I started with 12 test tubes I bought off of Amazon for $15.
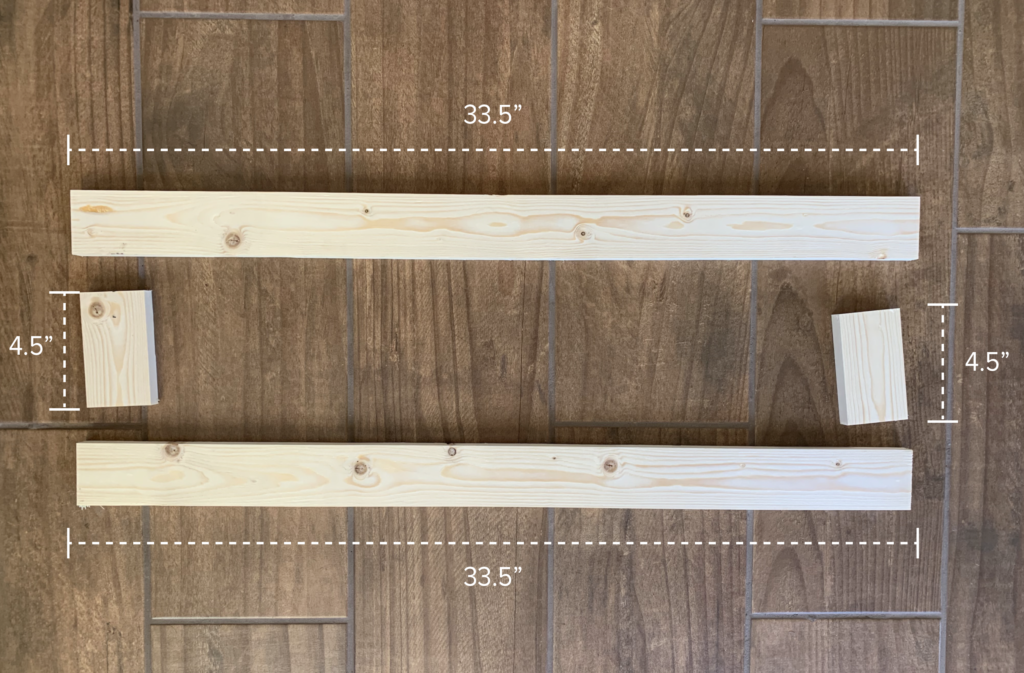
I figured out how far apart I wanted my test tubes to be (2.5 inches), multiplied that by how many spaces I’d need between tubes (11) and added 3 inches on either end (an additional 6 inches total). So, I needed two 1×3 boards to be 33.5 inches long (2.5 x 11 = 27.5 + 6 = 33.5). I then cut my side support pieces 4.5 inches long to leave some room at the top for the plant cuttings.
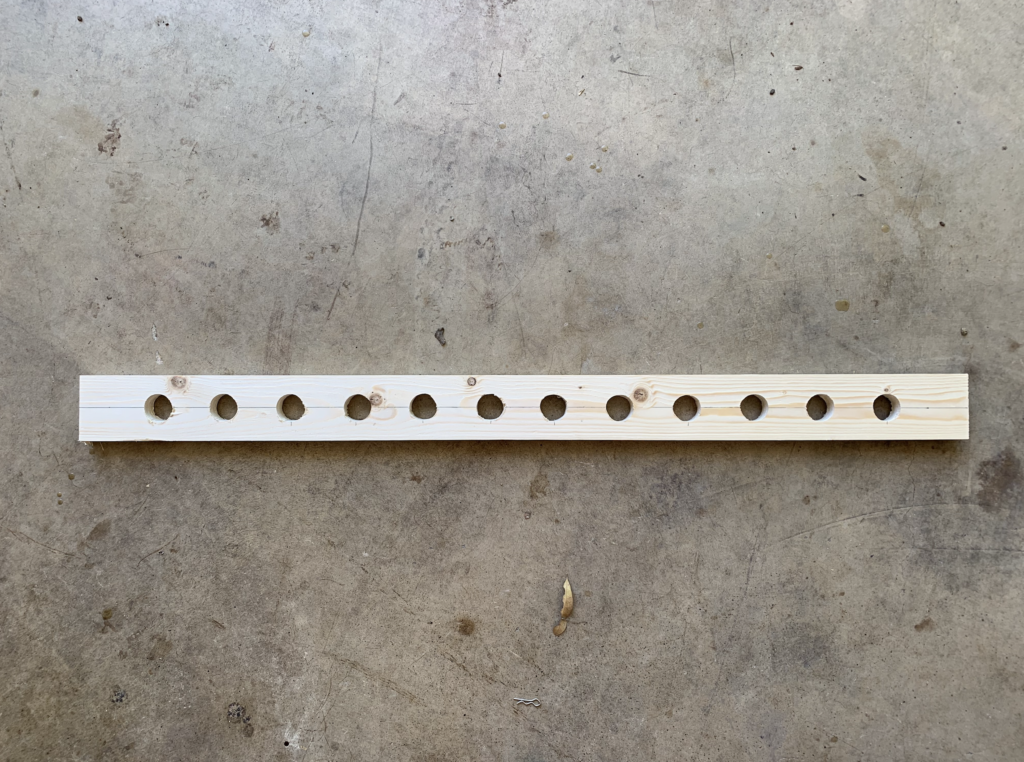
If you have a hole saw attachment that is the right size that would probably be the best tool for drilling holes for the test tubes. I just had a drill spade attachment and worked with that. I measured every 2.5 inches along my boards (leaving 3 inches on the ends) and then got to drilling!
Once I drilled out all of my holes, I was left with this top piece.
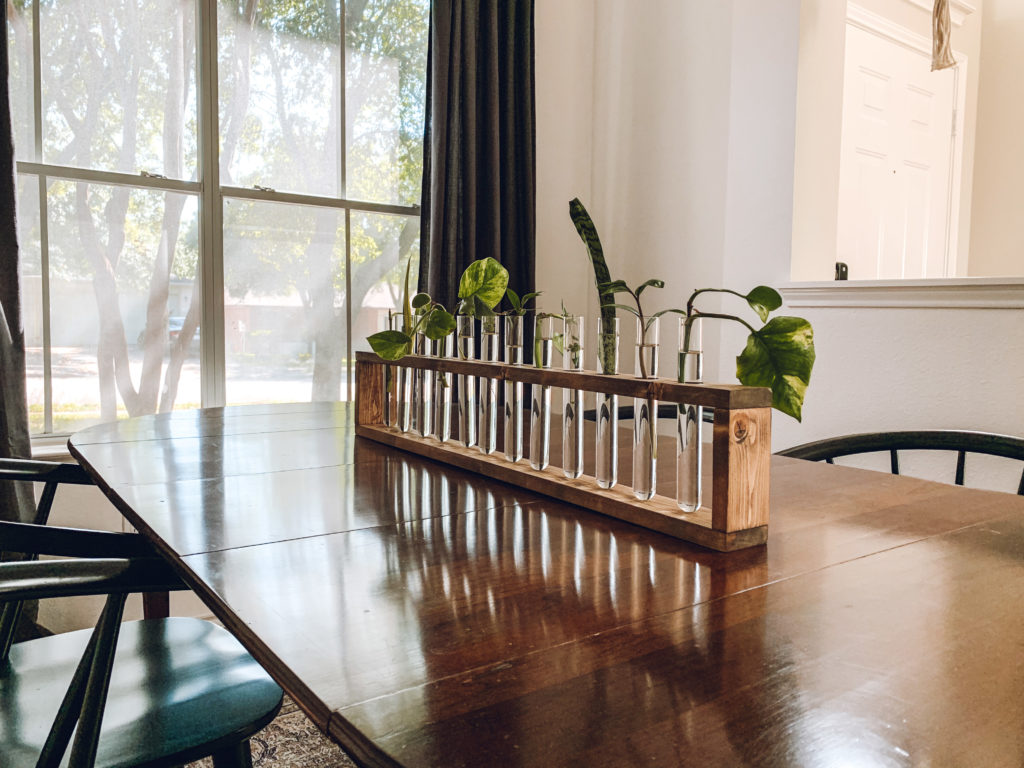
I sanded and stained my boards with 2 parts Special Walnut and 1 part Dark Walnut. Then, I nailed the boards together, took clippings from my plants and here is the finished product!
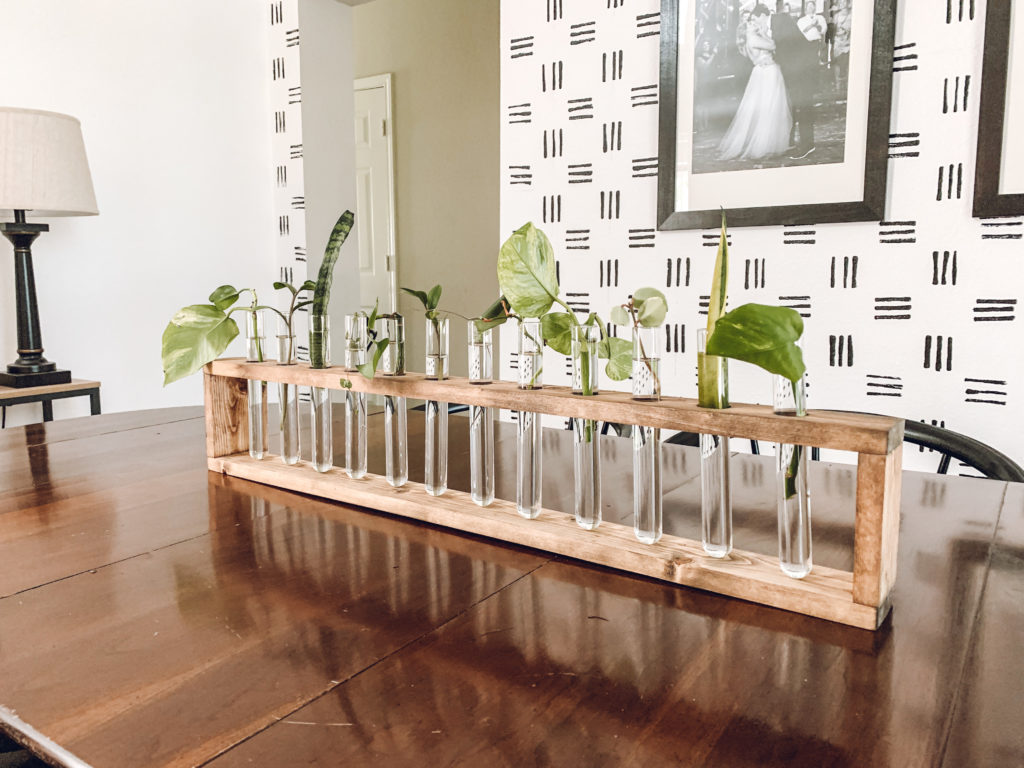
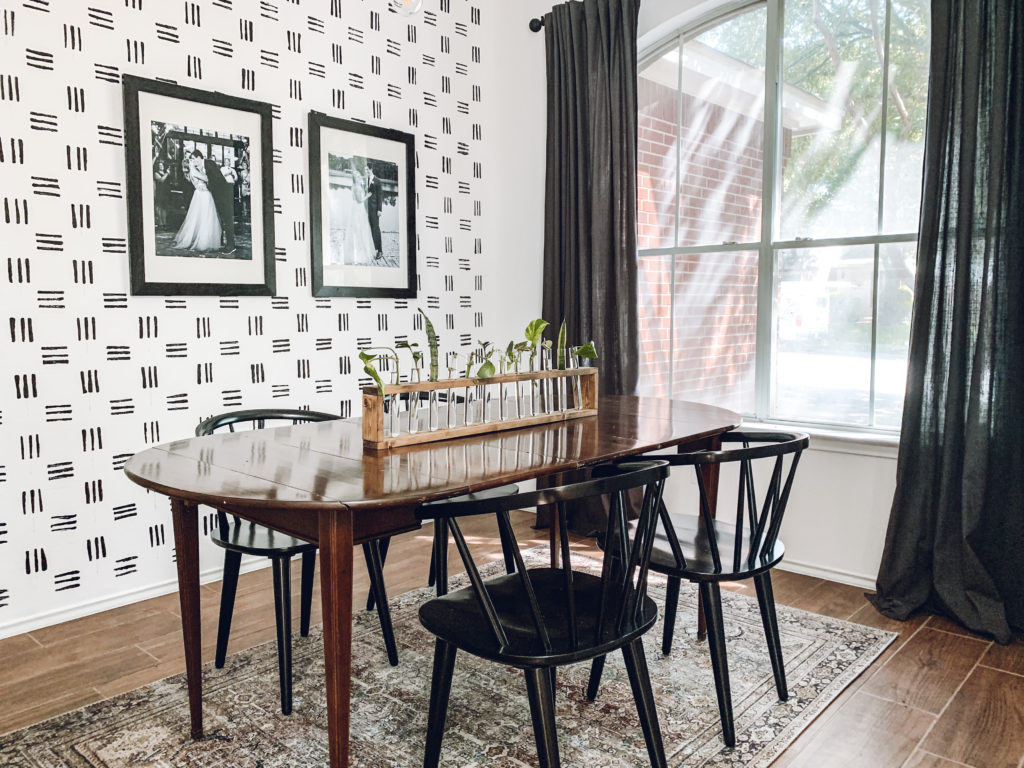
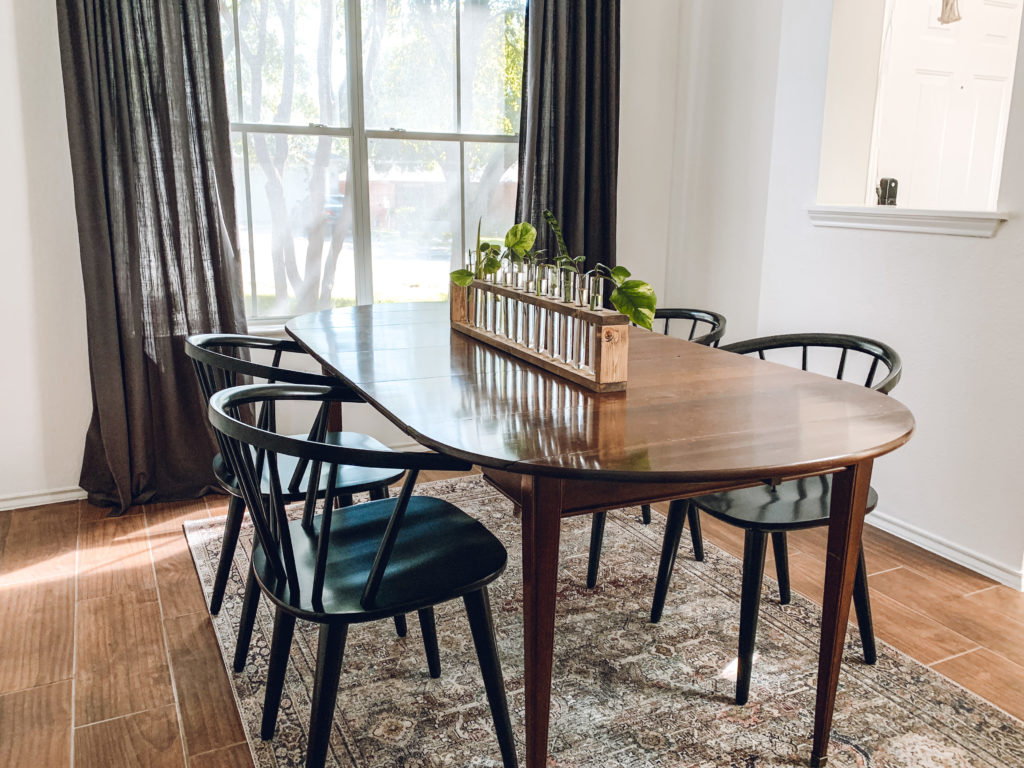
I’m loving having a functional and creative centerpiece for my dining table and I’m so proud I made it with my own two hands. It really was a simple project and it’ll be a great way for me to constantly expand my plant collection. If you’ve got even more time on your hands and want to attempt this DIY wallpaper, you can find my tutorial for that here.
If you decide to give this DIY a try, I’d love to hear about it! You can comment here or share it with me on Instagram @Campbell_house_.
Disclaimer: this post may contain affiliate links, meaning I get a commission if you decide to make a purchase through my links, at no cost to you.

[…] The centerpiece is actually another DIY (because I just can’t get enough) and I’ve gotten so many compliments on it! Here’s the tutorial. […]
[…] DIY Plant Propagation Station […]
Thank you for the instructions! They were spot on, except for the spade bit. I tried the spade bit and it just tore up the board. After some more research, I used a 1″ forstner bit. The holes came out perfectly!
Oh I’m so glad you found something that worked for you! I’ll have to look into the forstner bit too. I didn’t have problems with the spade, but I’m always looking to improve. Thank you for the recommendation!